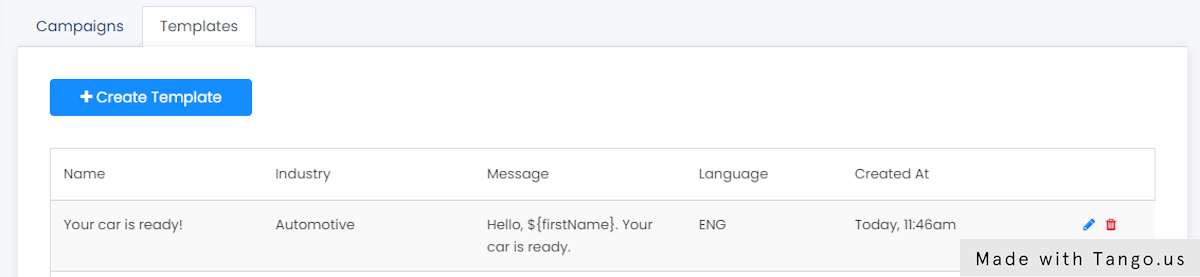
Create templates to easily select and send pre-written messages.
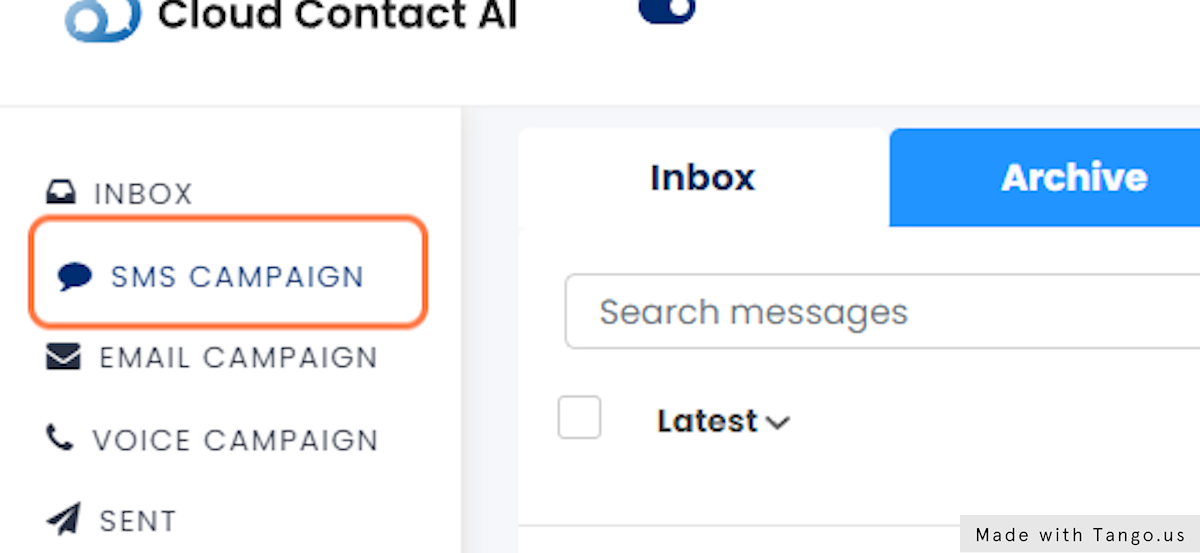
1. Go to Cloud Contact AI and log in
2. Click on SMS CAMPAIGN
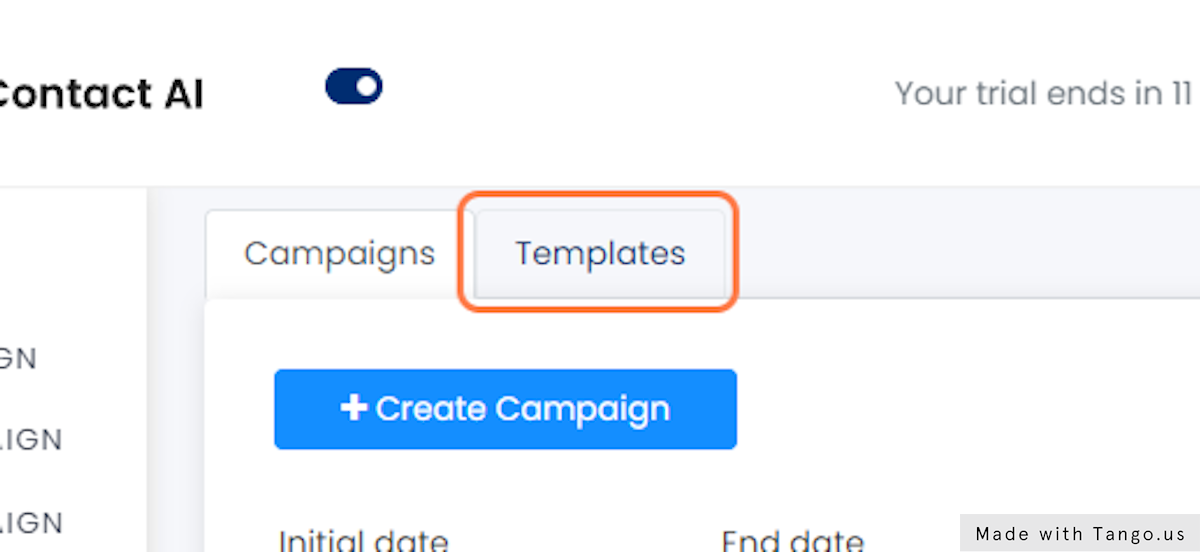
3. Click on Templates
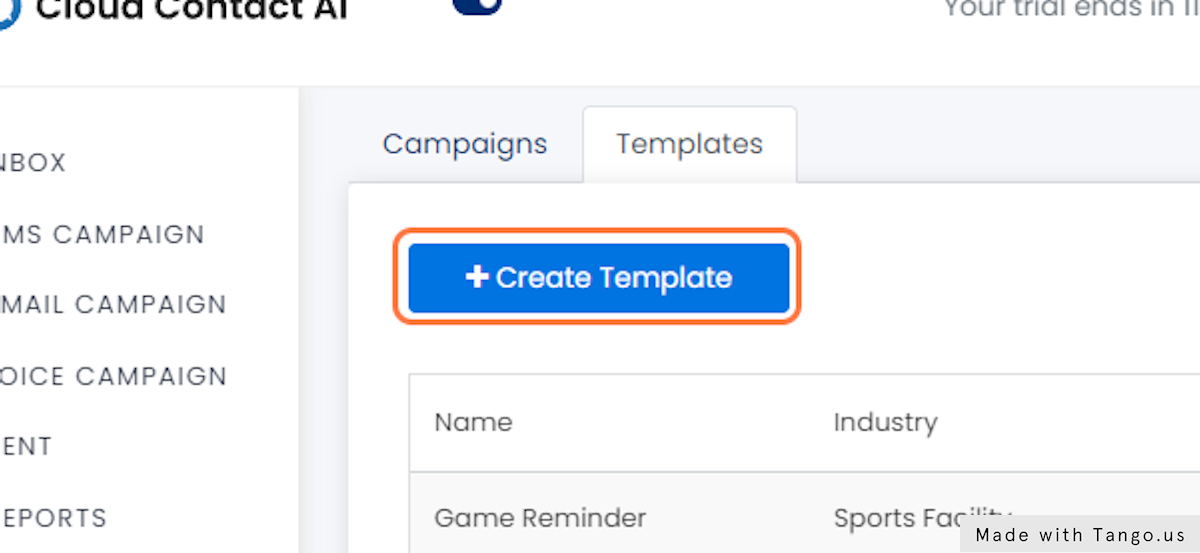
4. Click on Create Template
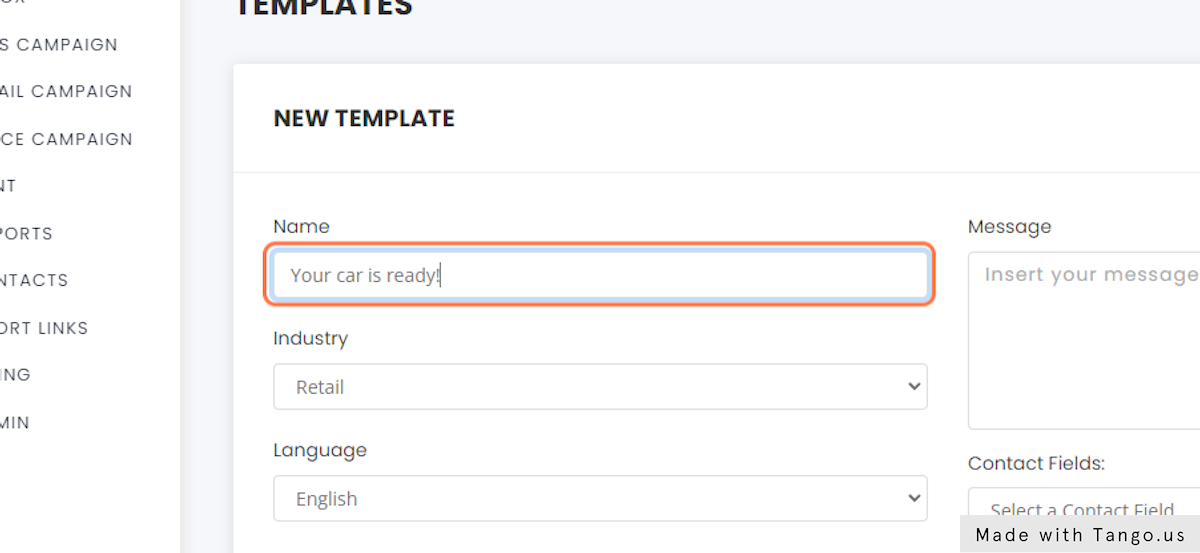
5. Create a name for your template
Every time that you need to use a template, you’ll locate it using the name you type here.
For this example, we’ll be a car repair shop.
In this case, the name of the template is, “Your car is ready!” In the future we can quickly select this template to let customers know that the work on their car is completed.
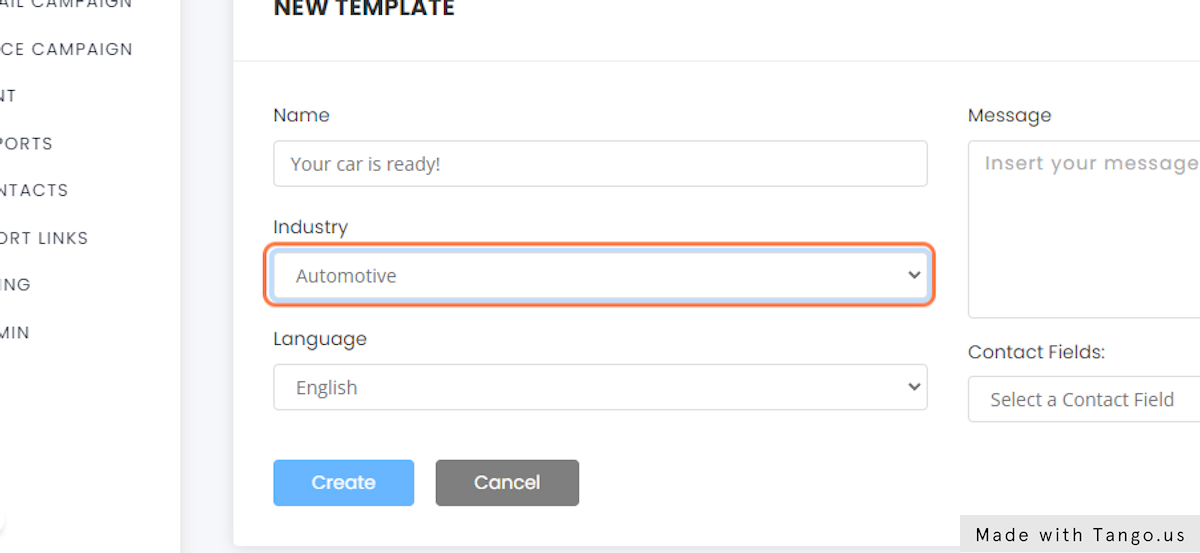
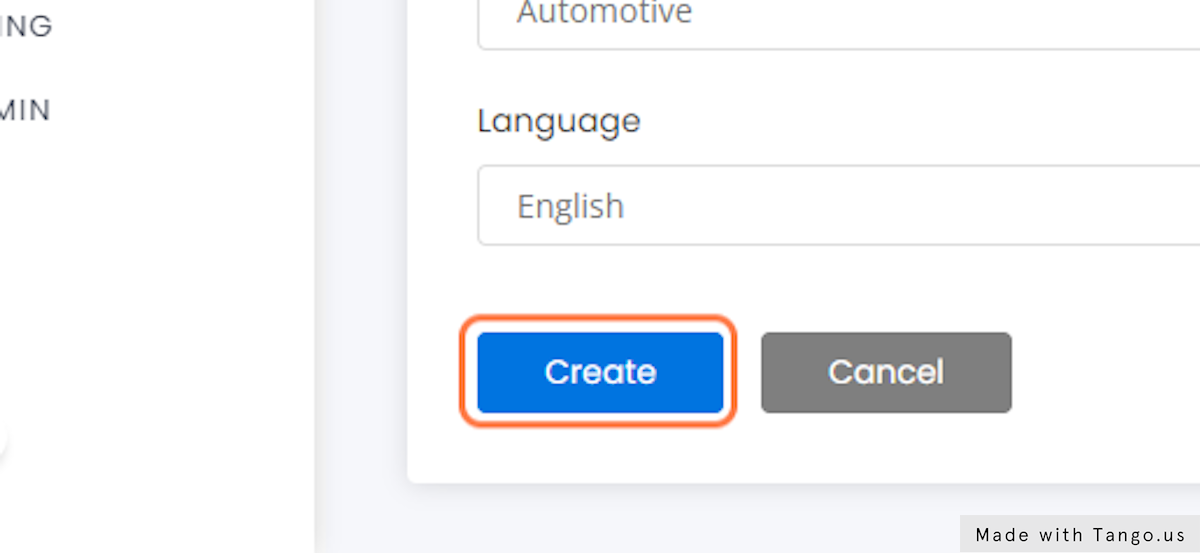
6. Select the appropriate industry
When you create an SMS campaign, you’ll be able to find your template under the industry that you select here. In this case, we’re creating a template for a car repair shop; so, we’ll select “Automotive” in the industry menu.
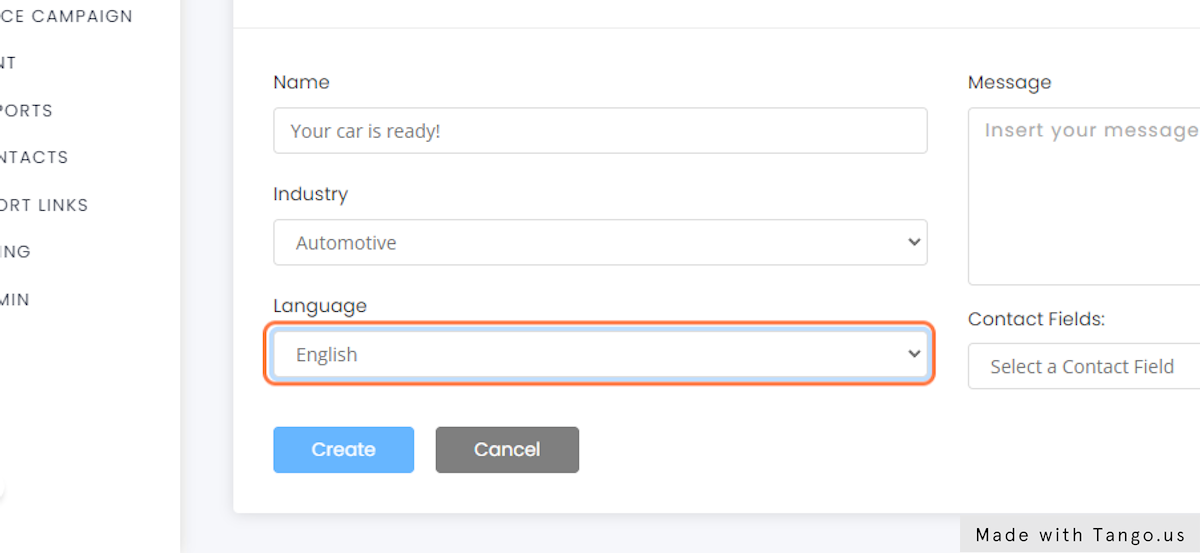
7. Select the language that you will write the message in
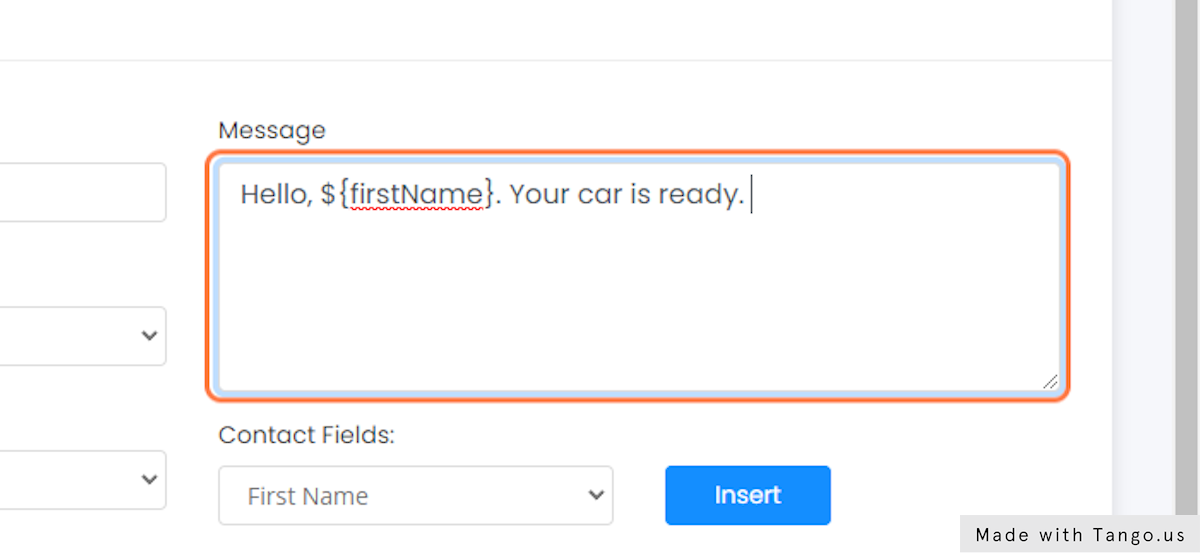
8. Write the message that you will send to your customers
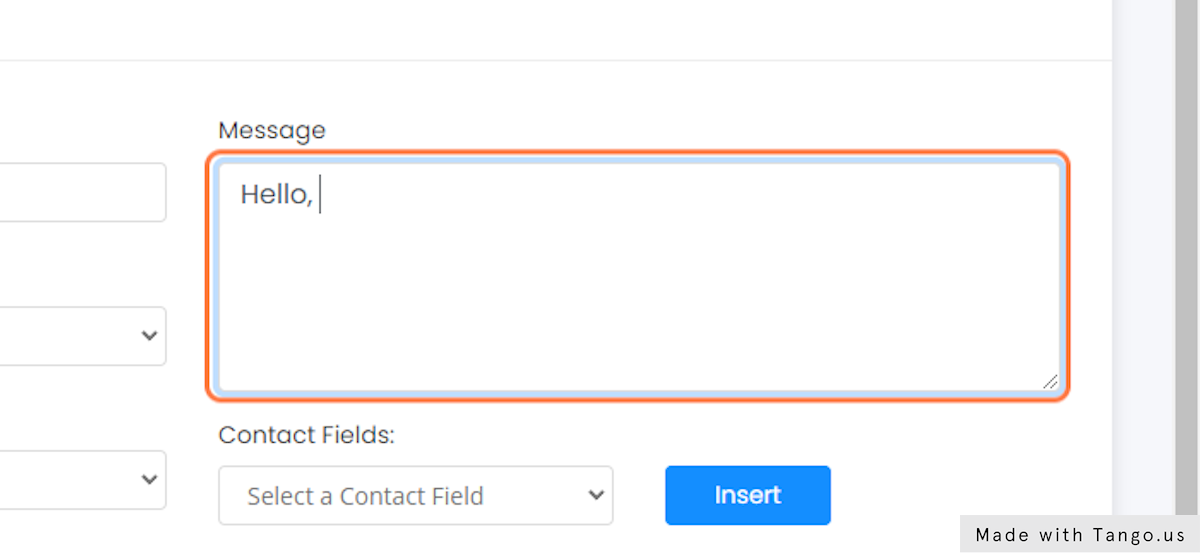
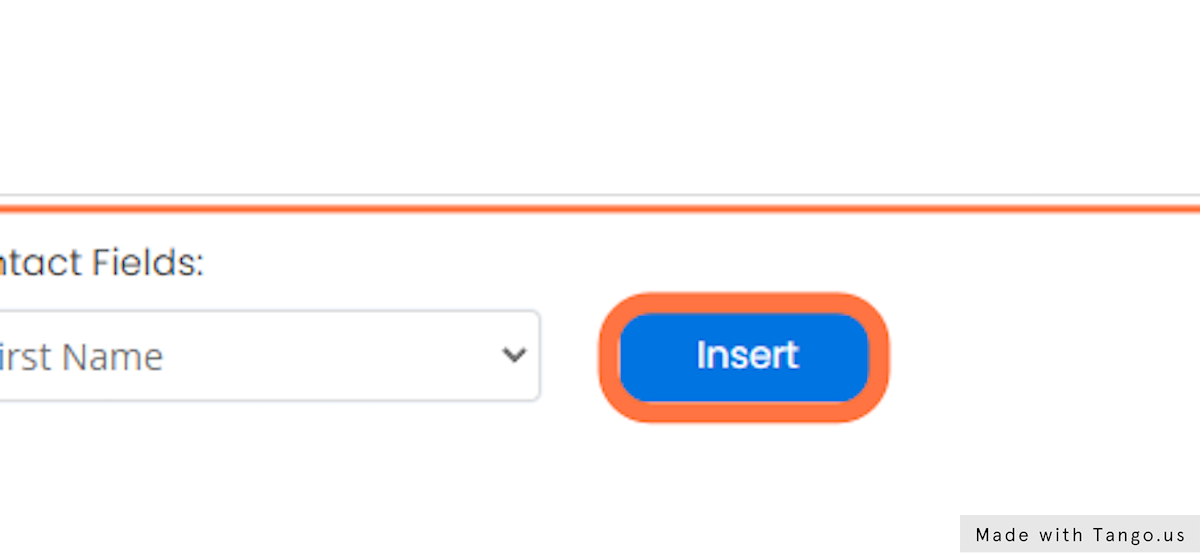
9. Use contact fields as necessary
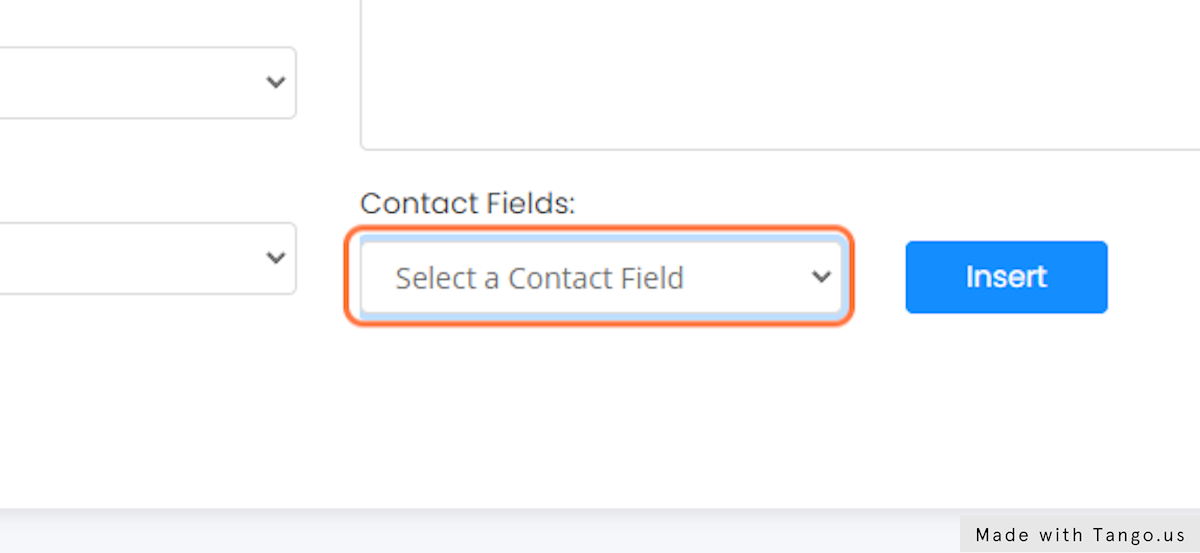
10. Click on Insert to place the contact field in your message
11. Complete your message
12. Click on Create
13. Congratulations! You’ve created a template. Below, you’ll see your new template.
You will use your templates when you create an SMS campaign.